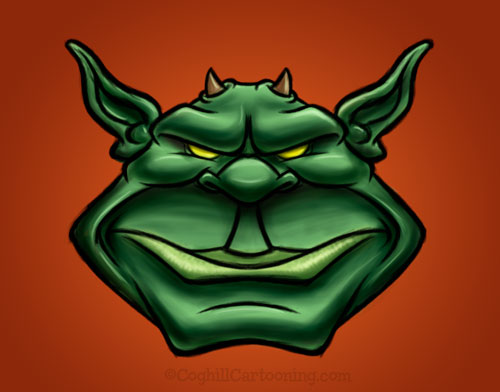
Green Goblin at Monster Monday
Yet another experiment with painting in Photoshop. For this drawing, I sketched the rough idea out right in Photoshop using the Wacom Intuos graphics tablet:
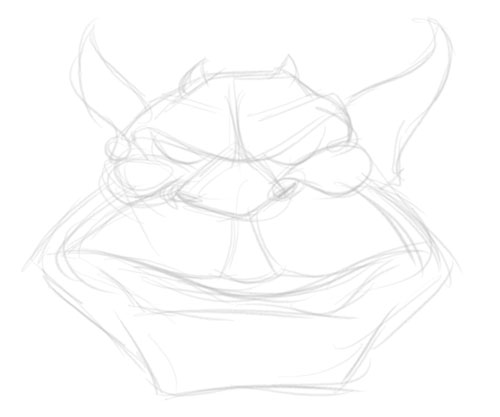 Very loose here, just trying to get the overall feel and general look of the creature. The next step was to flip this layer to get things more symmetrical:
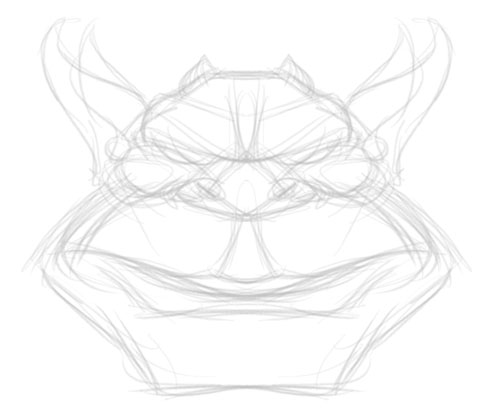 Now you can start to see where you want to go with the lines an make decisions about which elements of the face look best. Time to go in and tighten up a bit to see who we have here:
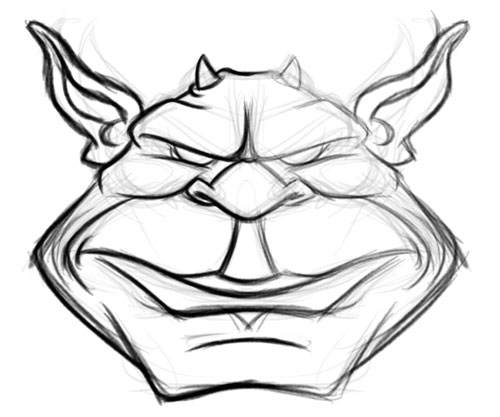 In the version above, you can see I already went in and worked up one side of the face, and then again flipped the art (no need to draw things twice if you don’t have to). On yet another layer I started beefing up the line work on the left side.
Next step is to duplicate and then flip this new thicker layer on the left, and go in for the final line cleanup:
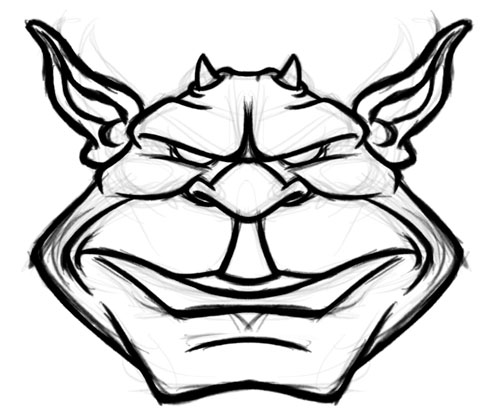 Here you start to see what is very close to what became the final line art layer for the finished art. Note that as I duplicate and flip layers, I am also merging them together so I don’t have a boatload of layers to keep track of (Mac users, Command-E will merge the selected layer with the one below it).
Once I am at this stage, I only have two layers: the rough sketch layer (which you can see peeking through) and this single line art layer, which is the result of many previous duplicated, flipped and merged layers.
Once the final line art layer is complete, I then add new layers under this line art layer: a plat color layer, then above that a “Shadows” layer (with Blending Mode set to Multiply) and then a “Highlights” layer (with Blending Mode set to Screen).
Sometimes (as was the case with this illustration) I will have multiple “Shadows” layers, all set to Multiply. I’ll work up the base shadows on one layer, then work in darker shadows on the next — taking advantage of the supremely useful Layers in Phtoshop. This way I can turn this second layer of shadows on/off and see how it’s working: is it adding to the effect or not? This allows me to not have to start the entire shadows layer from the beginning if parts aren’t working — I have the core shadows on a separate layer.
The final art you’ve seen at the beginning of this post.
If this post was helpful — or if you have any questions about the process — please let me know in the Comments section below.
